The first time my master told me that drawing and withdrawing the sword will take more than a week to master, I did not believe him. I mean, how hard could it be? You simply pull the sword out, and pull it back in? However, the first time I held a real sword and tried to pull it out, I realized I look really dumb. Here's an embarrassing video of myself trying to pull out and put in a sword.
So you get the point, it's actually not that easy of a task. There are specific steps and details that must be followed, in order for yourself to not look as dumb as I did in the video. Here are the steps I have learned.
1. The Angle
Before drawing the sword, the left hand must rotate the sword 90 degrees to the left. This will face the sides of the sword parallel to the ground. If the sword is not rotated, I would have to awkwardly twist my wrist to grab the handle of the sword.

2. Tip of the Handle
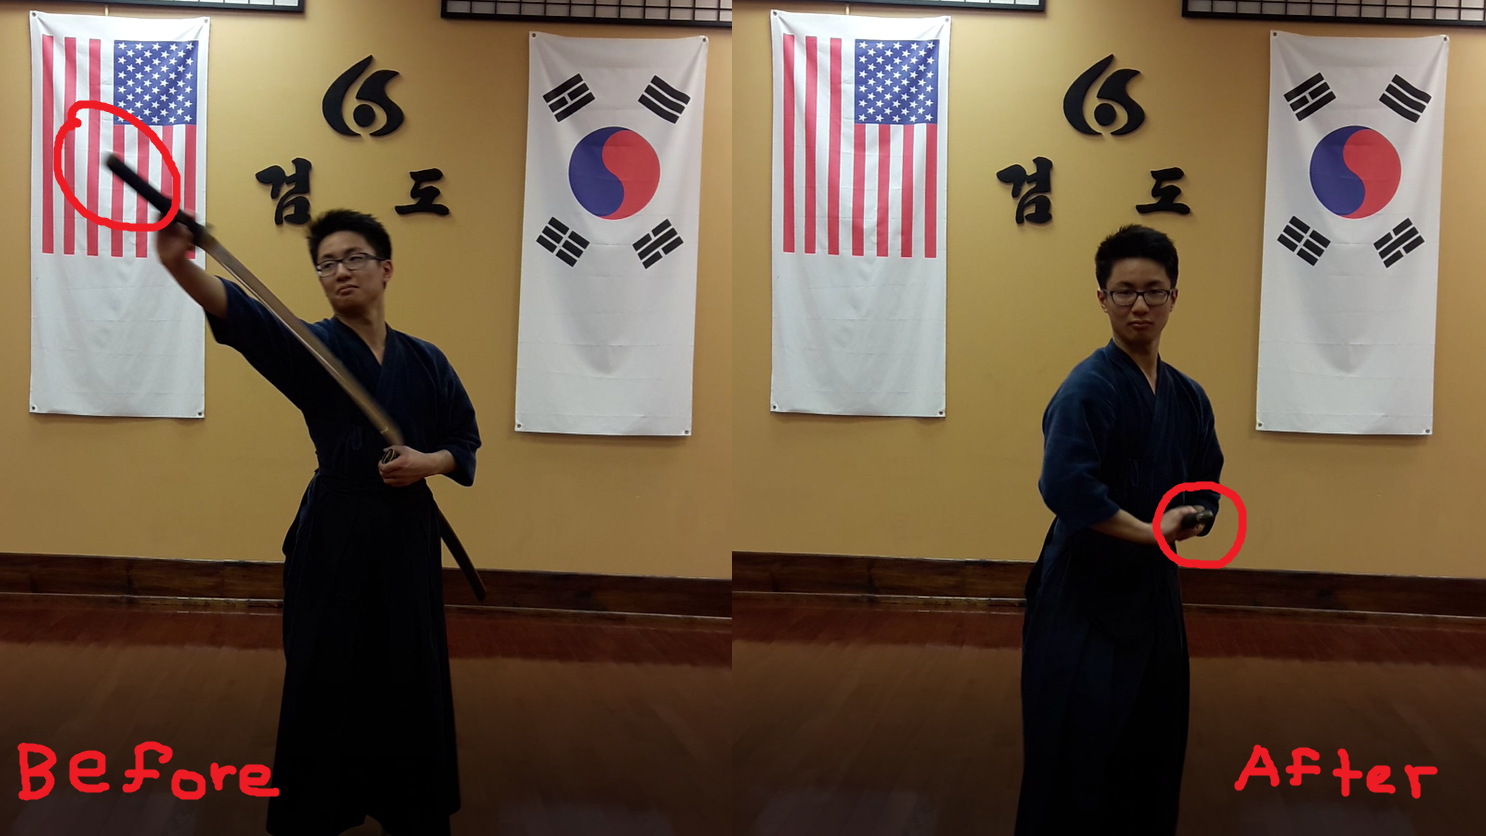
The tip of the handle of the sword must face FORWARD when drawing and withdrawing the sword. As you could see in the video above, I did not know that correctly. In order to do this, the right shoulder and leg must come forward. This lets the handle of the sword, which was currently facing right, turn to the front.
3. Pull out completely
Because the sword is longer than my arm, I had a hard time completely pulling the sword out of the case before I turn the sword to its original angle. As a result, the sword scrapes the inner part of the case as it comes twisting out. This became worse as I stiffened my body and only used my arm to pull out the sword. Watching this, my master told me to relax and use the turning of my entire body to add an extra length to pull out the sword.
4. Blood on the sword
Not that I will ever actually cut someone with a sword, let's just say I did for the sake of the martial art. The sword would be covered with blood and probably some disgusting flesh, and it would be nasty if all that blood went inside the case with the sword. Thus, before withdrawing the sword back in, we let the blood drip off by doing this,

5. Create a tighter hole as thin as the sword.
Which hole would be harder to put the sword in? A big hole or small hole? You probably thought it would be the big hole (or at least I did), but it is actually the opposite. The bigger the hole and empty, the more the sword will move around while searching for the entrance to the case. In order to prevent this, I had to create a tighter hole with my fingers that covers up the hole of the case.

6. Slide the back of the sword on the hand.
Putting the sword back into its case is essentially the same concept. The case of the sword should be rotated left 90 degrees, and the tip of the handle must face forward. However, there is one additional step. In order to find the hole created with the fingers, the sword must trace its path to the hole. This is done by sliding the back of the sword on your hand until the tip of the sword reaches the hole.

7. Back to the original angle
As soon as the tip of the sword reaches the hole, the sword should rotate back to its original angle(the sides of the sword being perpendicular to the ground) Finally, the sword should slide back into its case, smoothly and lightly pushing down the non-sharp side of the sword.
Product of Week 1
As my master has already said, I must put in more time to put all these steps into one smooth movement. My back should stay straight at all times, and my elbow should unfold completely when pulling out and putting in the sword. My master told me that I have improved a lot, but he wants me to keep practicing as I move on to the movements of Chosun Saebub.
That's it for this week. Come back next week to see the first 3 movements of Chosun Saebub, Bye!
Awesome work! Informative and interesting!
ReplyDeleteI never thought that simply drawing the sword out would take so much practice to learn. I have to say that it's really good that you've got someone to teach you things like twisting the sword 90 degrees before drawing, or squeezing the hole of the case before putting it back into the case. Without a teacher, even the basics of Kumdo would be pretty hard to learn. Good luck learning the movements of Chosun Saebub!
ReplyDeleteWhat if there is still blood on the sword that didn't drip off? Once you learned the proper way to draw your sword, was it easier than the way you had been doing before, or do you have to concentrate to get it right?
ReplyDeleteThis comment has been removed by the author.
ReplyDeletei love the images/gifs, they really bring this blog alive and put some personality into it. just wondering, have you had any prior experience with something like kumdo? or did you just like have the cool sword chillin at home?
ReplyDeleteHoly Crap!
ReplyDeleteThis is really cool, and also scary. I can't wait until you can make awesome sword moves